 English
Jabra Sanitary is a sanitaryware supplier offering toilets, sinks, faucets, bathtubs, etc., at competitive prices. If you're a distributor, wholesaler, or project contractor, get a quote today!
 $23.9 Limited-time Offer
 Consignment Policy
 20 Years of Experience
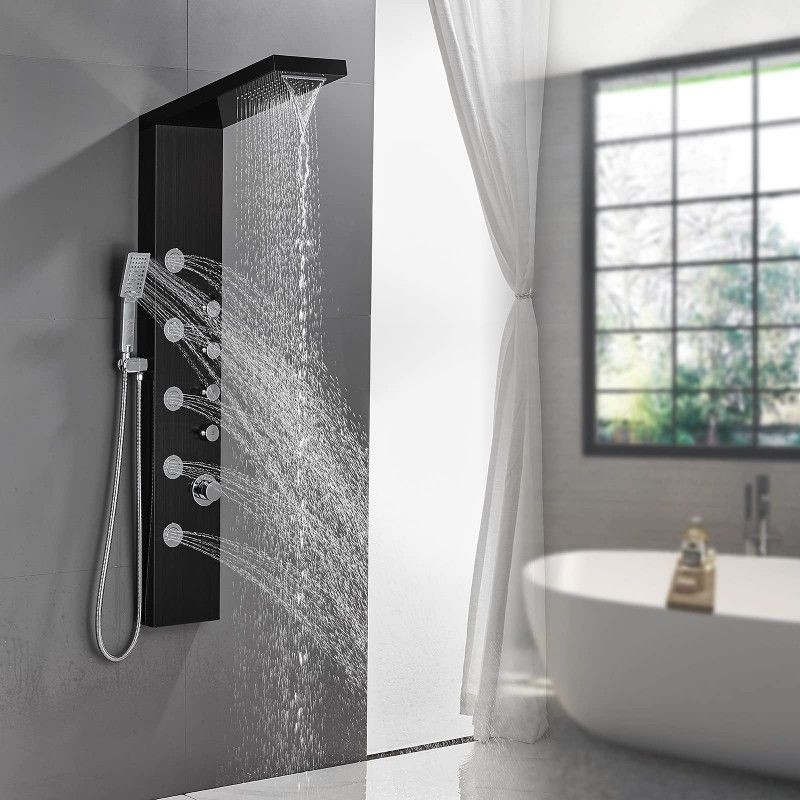
Installing a shower faucet can be a rewarding project, enhancing both the functionality and style of your bathroom. Proper shower faucet installation ensures efficient water flow, prevents leaks, and can even contribute to water savings.
Whether you're replacing a faulty faucet or upgrading for a new look, this guide will walk you through each step, making it easy to install a new shower faucet yourself
Table of Contents
Components of Shower Faucets
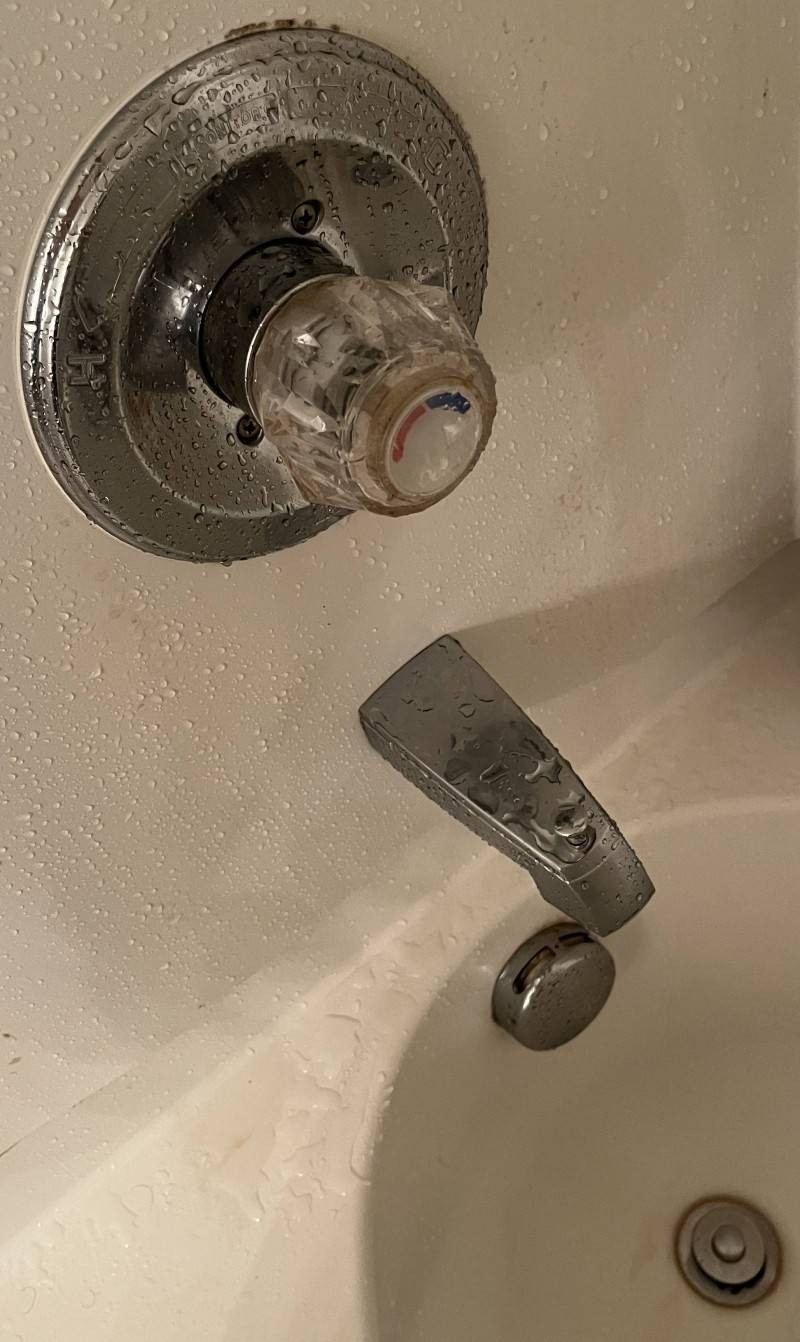
Signs That You Need To Replace Your Shower Valve
Cost to Replace a Shower Faucet
Preparation Steps for Installing a Shower Faucet
Materials Needed for Shower Faucet Installation
How to Install a Shower Faucet
FAQs
Wrapping Up
Components of Shower Faucets
Understanding the various components of a shower faucet can help you complete a smooth installation and better maintain your faucet in the future.
Here are the main parts involved in a typical shower faucet system:
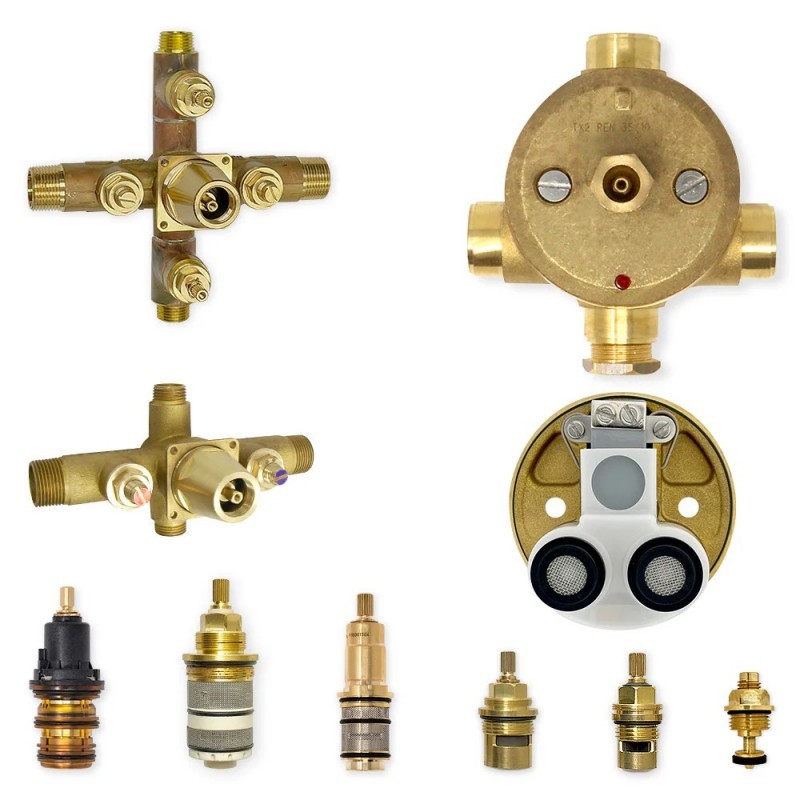
- Shower Valve: Controls the water flow and mix of hot and cold water, essential for adjusting the temperature.
- Cartridge: This piece connects with the valve and adjusts water temperature and flow based on the handle position.
- Handle: Used to control the water temperature and flow; it can be single or double-handled, depending on the faucet design.
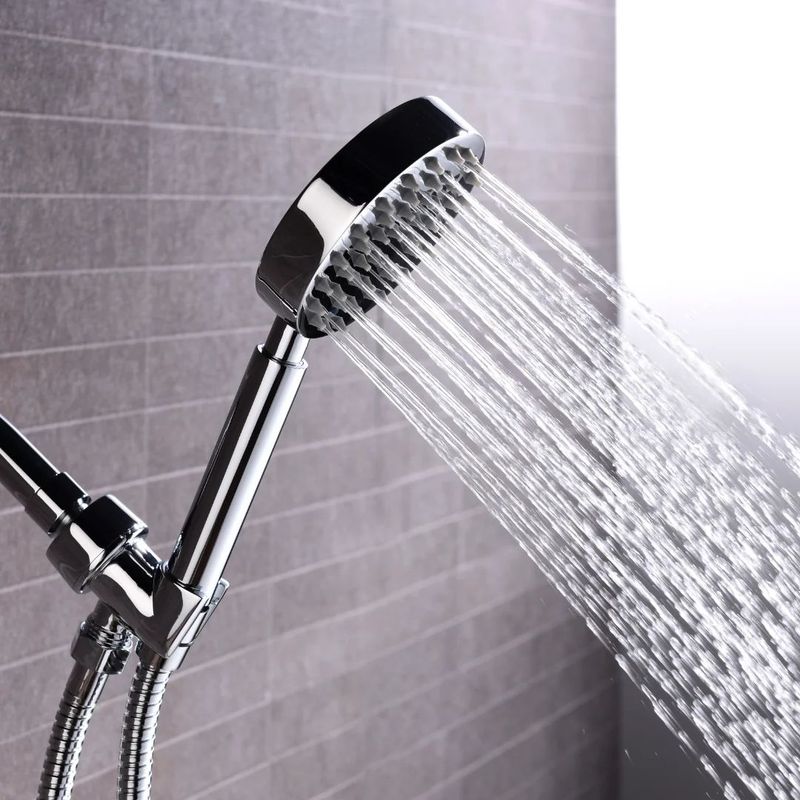
- Showerhead: Dispenses water in a controlled spray; many modern models offer different spray patterns.
- Escutcheon Plate: A cover plate that conceals the hole in the wall, where the valve and pipes are located, giving a clean, finished look.
Common types of shower faucets include single-handle, double-handle, and thermostatic faucets, each with different features for controlling water flow and temperature. Be sure to choose a model compatible with your shower setup for easy shower faucet installation.
Signs That You Need To Replace Your Shower Valve
Over time, shower valves can wear down, leading to leaks, temperature fluctuations, and poor water flow.
Here are some indicators that it may be time to replace your shower valve:
- Leaking or Dripping Faucets: Constant dripping or leaking from the faucet, even when turned off, often indicates a worn-out valve or cartridge.
- Difficulty Adjusting Temperature or Pressure: If it's hard to get the right temperature or maintain water pressure, the valve may need replacement.
- Rust, Corrosion, or Visible Damage: Rusted or corroded valves can cause discoloration and reduce the efficiency of your shower system.
- Water Backflow: Backflow, or cross-contamination between hot and cold water, can occur if the valve is worn, leading to inconsistent temperature control.
Replacing a worn-out valve not only prevents water waste but also ensures a safer, more enjoyable shower experience.
Cost to Replace a Shower Faucet
The cost to replace a shower faucet can vary based on the type of faucet, labor costs, and whether you opt for a DIY installation.
Here's a breakdown of what to expect when installing a shower faucet:
- DIY Installation: If you have the tools and skills to install the faucet yourself, you'll save on labor. The cost will primarily include the faucet itself, which ranges from $50 to $400, depending on style and features.
- Hiring a Plumber: Plumbers typically charge between $100 and $300 for labor, depending on your location and the faucet complexity.
- Additional Costs: Some additional expenses might include tools, plumber's tape, and any necessary pipe adjustments, which may add around $20-$50.
On average, a complete replacement, including materials and labor, costs between $150 and $600. DIY installation can significantly reduce this cost, but make sure to follow instructions carefully to avoid potential issues.
Preparation Steps for Installing a Shower Faucet
Before installing a new shower faucet, preparation is essential. This will ensure a smooth process and help avoid common installation issues.
Here's what you need to do:
Select the Shower Location
Choose a location that will comfortably reach all users in the household. For showers within bathtubs, consider the existing water line placement and access to the plumbing behind the wall. This will help when you add a shower head to bathtub setups, if needed.
Measure and Mark Installation Points
Accurate measurements are crucial for proper installation. Measure the height of the faucet handle and showerhead from the base of the tub or floor. Mark installation points with a pencil for easy reference during installation.
Check the Water Source and Pressure
Verify your water source and pressure to ensure the new faucet will function properly. Check your home's water pressure; ideally, it should be between 45–60 psi for optimal shower faucet installation performance.
Materials Needed for Shower Faucet Installation
How do I install a shower faucet? Gathering the right tools and materials beforehand can save you time during the shower faucet installation process.
Here's what you'll need:
- Wrench: Essential for loosening and tightening faucet components.
- Screwdriver: Used to remove or secure screws for various parts of the faucet.
- Plumber's Tape: Wrap this around threaded connections to prevent leaks.
- New Faucet Set: Includes the showerhead, valve, handle, and other components for installation.
- Safety Equipment: Gloves and safety goggles for protection.
With all materials on hand, you'll be ready to install your new shower faucet quickly and efficiently.
How to Install a Shower Faucet
With preparation complete, you can begin to install a bath faucet. Follow each step carefully to ensure a professional, leak-free finish and successful shower faucet installation.
Step 1: Turn Off the Water Supply
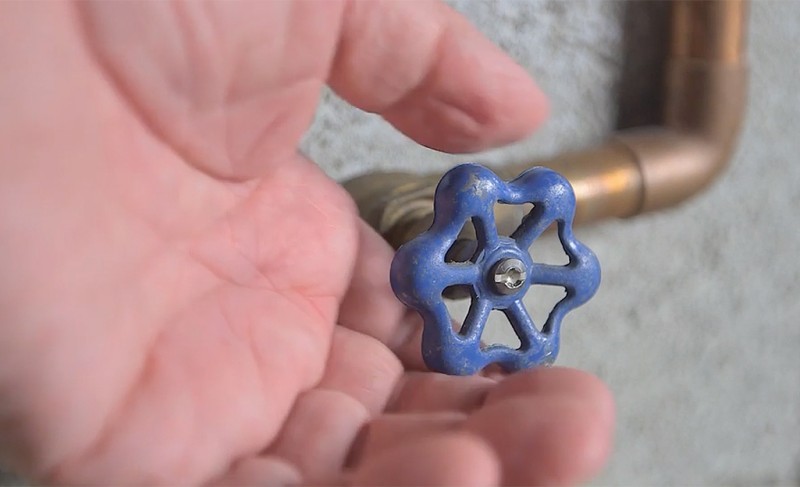
Before starting, locate the main water shutoff valve or the specific valve controlling water flow to the shower.
Once you turn off the water, open a nearby faucet to release any remaining pressure in the pipes. This helps avoid any accidental water spray during installation.
Step 2: Remove Old Faucet
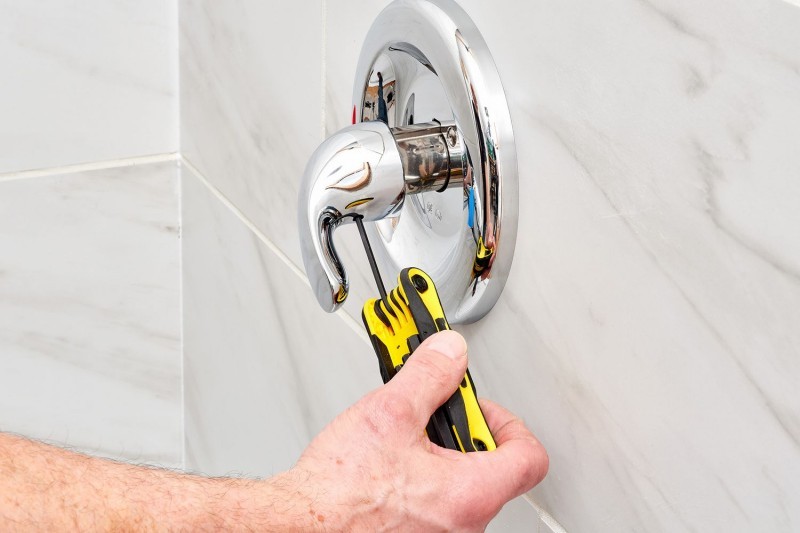
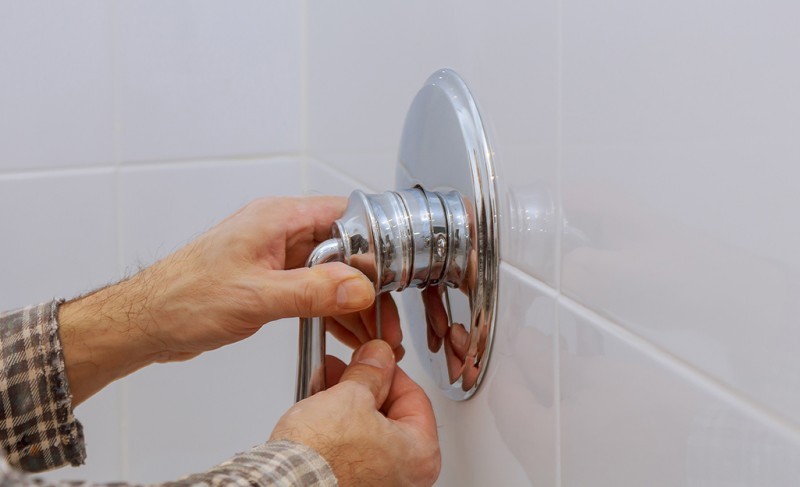
How do you install a shower faucet? Start by removing the shower handle, usually held by a screw underneath or behind it. Next, remove the escutcheon plate covering the wall hole.
With these pieces out of the way, you can access the old valve. Carefully unscrew and detach the valve from the water lines.
Tip: If screws or connections are corroded, apply a few drops of penetrating oil to loosen them up.
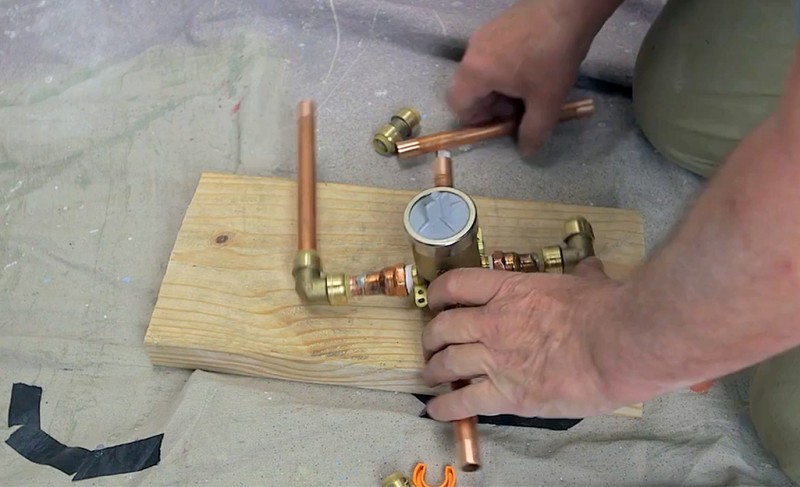
Step 3: Install New Shower Faucet Valves
Position the new valve in place, ensuring it's correctly aligned with the hot and cold water pipes. Secure the valve with screws or bolts as directed by the manufacturer's instructions.
Make sure the valve faces the right way to allow proper water flow once installed.
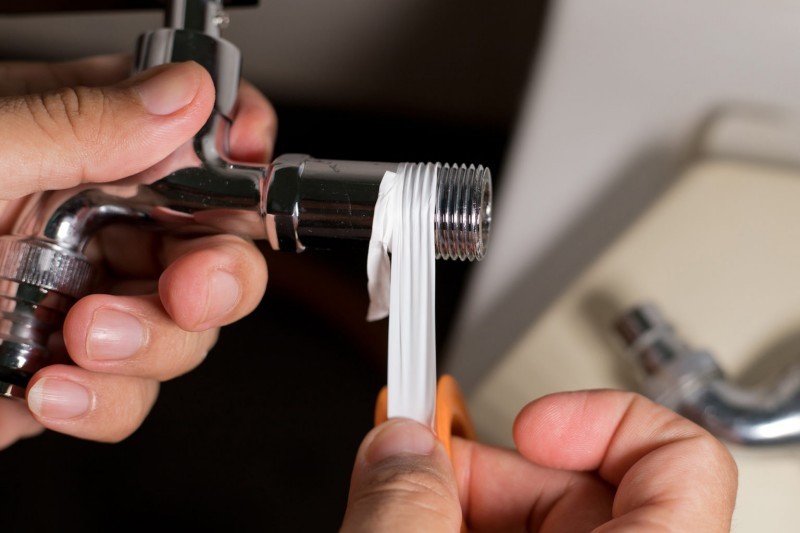
Step 4: Apply Plumber's Tape
To prevent leaks at threaded connections, apply the plumber's tape to the shower arm threads and any other threaded parts of the faucet.
Wrap the tape clockwise around each thread about two to three times, pressing it down firmly. Plumber's tape helps create a watertight seal, reducing the risk of leaks and ensuring long-lasting performance.
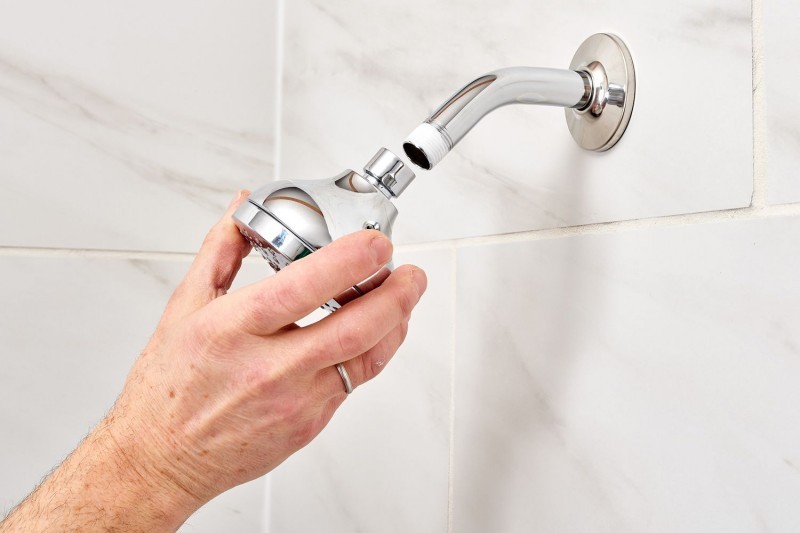
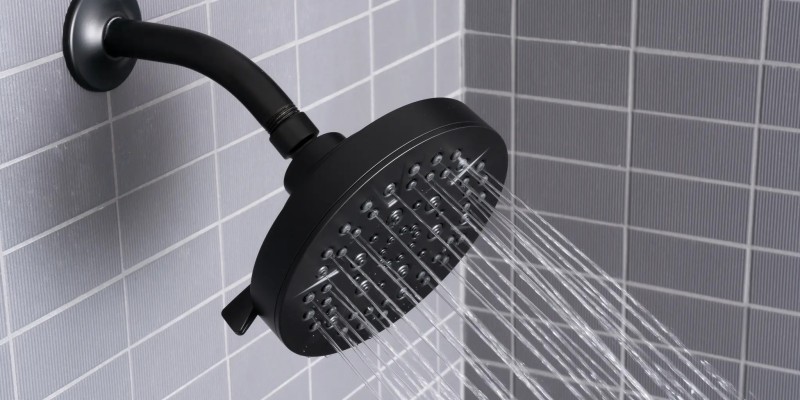
Step 5: Install the Shower Head
Screw the shower head onto the taped shower arm, twisting clockwise until it's hand-tight. Use a wrench to give it an extra turn, but avoid overtightening, as this can damage the fixture.
Position the showerhead to face the desired angle, allowing for optimal spray coverage. This step is crucial if you plan to attach shower heads to bathtub faucet combinations.
Tip: Some showerheads come with a rubber washer that provides an additional seal. Make sure it's in place to further prevent leaks.
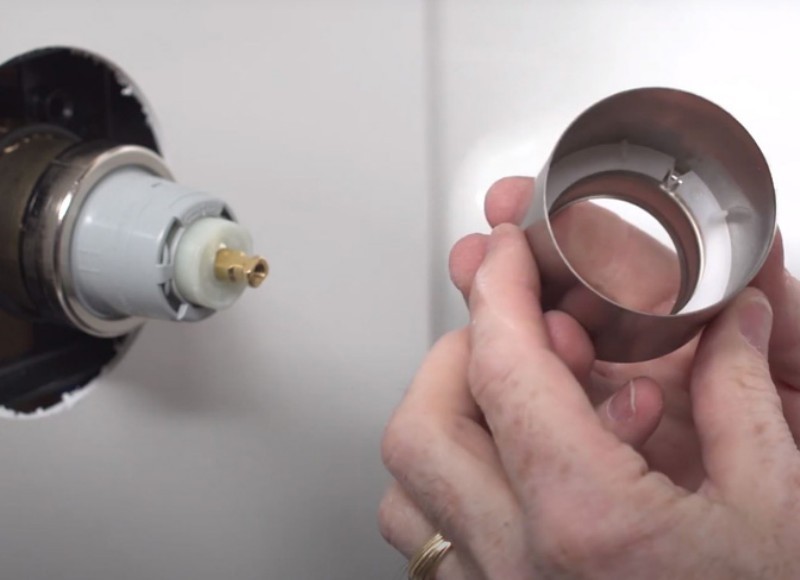
Step 6: Install the Cartridge
The cartridge is a critical component that controls water temperature and flow. Begin by aligning the cartridge with the valve according to the manufacturer's instructions.
Insert the cartridge carefully, ensuring it fits snugly into the valve body.
Secure it with a clip or screw, depending on the faucet model. Proper cartridge installation is essential for smooth temperature control and water pressure adjustments, so take time to ensure a tight, secure fit.
Step 7: Installing Shower Temperature and Flow Controls
With the cartridge in place, you can now attach the temperature and flow control handles. Start by aligning each handle with the cartridge stem, ensuring a snug fit.
Secure the handle with the provided screws, typically located at the base or back of each handle.
Once attached, test the handles to make sure they turn smoothly and adjust water flow and temperature as expected. If any resistance or difficulty is noticed, double-check the alignment and cartridge placement.
Step 8: Check for Shower Head Faucet Leaks
Turn on the water supply and allow water to flow through the faucet to check for leaks. Inspect each connection point, including the showerhead, valves, and handles.
If you notice any drips, turn off the water and reapply the plumber's tape or tighten connections as needed.
Once you're satisfied there are no leaks, test the water temperature and pressure to confirm the installation is complete and functioning correctly.
FAQs
Are shower faucets universal?
No, shower faucets are not universally compatible. Shower faucet compatibility depends on the valve type, manufacturer, and installation setup. Always check for faucet compatibility with your existing plumbing setup before purchase.
How long should a shower faucet last?
On average, a shower faucet lasts 15 to 20 years, depending on the quality, frequency of use, and water hardness. Regular maintenance, such as cleaning and checking for leaks, can help extend its lifespan.
How do I know what shower faucet I need?
When choosing a shower faucet, consider factors like your current plumbing setup, valve compatibility, preferred style, and budget. It's also essential to measure the space and check the type of handle and control options that will work best for your needs.
Can I just replace the shower faucet handle?
Yes, you can often replace just the handle, especially if it's for cosmetic reasons. However, make sure the new handle is compatible with your existing valve and cartridge to avoid installation issues.
Can I replace a shower faucet without replacing the valve?
In some cases, yes. If the valve is still functioning well and doesn't have issues like leaking or poor temperature control, you can replace only the faucet components.
However, if the valve is old or damaged, a full replacement is recommended for optimal performance.
Wrapping Up
Installing a bath faucet can be a straightforward project when you follow each step carefully. A properly installed faucet not only enhances your shower experience but also improves water efficiency and reduces the chance of leaks or temperature issues.
Remember to maintain your new faucet by periodically checking for leaks and cleaning any mineral buildup, which will help extend its lifespan.
Whether upgrading your bathroom's look or renovating an old, leaky fixture, this guide equips you with the knowledge about how to install a shower faucet confidently. Happy installation!


