 English
Jabra Sanitary is a sanitaryware supplier offering toilets, sinks, faucets, bathtubs, etc., at competitive prices. If you're a distributor, wholesaler, or project contractor, get a quote today!
 $23.9 Limited-time Offer
 Consignment Policy
 20 Years of Experience
Can you imagine installing a bathroom sink by yourself like a pro? With the right guidance and tools, it's something you can confidently handle.
This guide will walk you through the bathroom sink installation process step-by-step, provide essential tips to avoid common mistakes, and offer cost, time, and maintenance considerations. Besides, we help you decide when hiring a professional to install a bathroom sink is best.
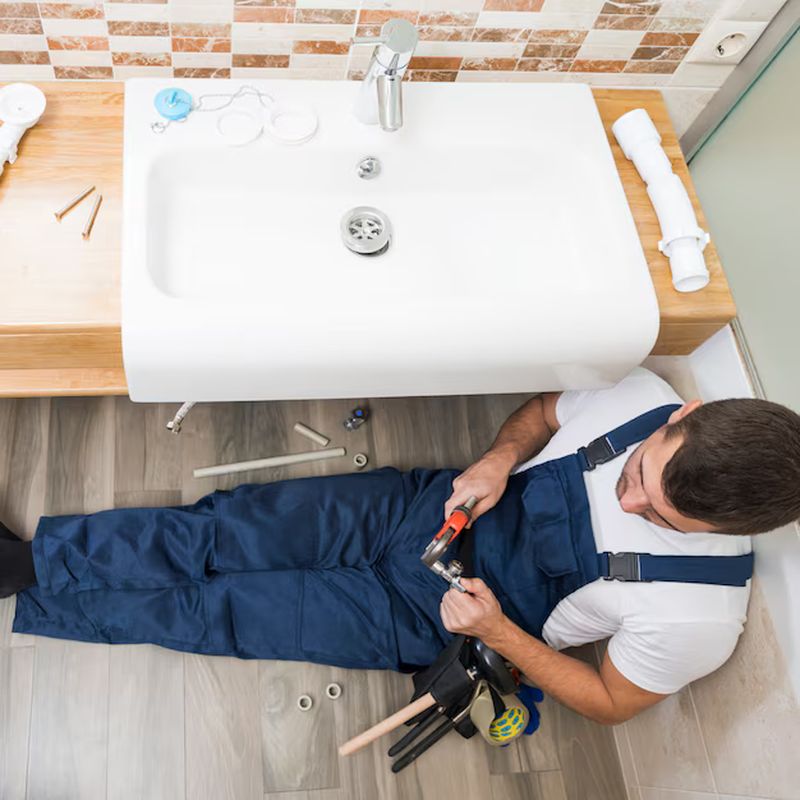
Table of Contents
Tools and Materials Needed
Step-by-Step Guide to Installing a Bathroom Sink
How Much Does a New Bathroom Sink Installation Cost?
How Long Does It Take to Install a Bathroom Sink?
Common Issues and Solutions During Bathroom Sink Installation
DIY vs. Hiring a Pro to Install a Bathroom Sink
When to Replace a Bathroom Sink?
Maintenance Tips for Your Bathroom Sink
FAQs
Conclusion
Tools and Materials Needed
Before examining the bathroom sink installation process, it's essential to gather all the tools and materials you'll need. Having everything on hand will save time and ensure a smooth installation process.
Here's what you'll need:
Tools
- Adjustable wrench
- Pipe wrench
- Screwdriver (flathead and Phillips)
- Bucket (to catch excess water)
- Utility knife
- Plumber's putty
- Caulk gun
- Tape measure
- Level
- Plumber's tape (Teflon tape)
Materials
- New bathroom sink (make sure it fits your vanity or countertop)
- Faucet set (if not pre-installed)
- Drain assembly kit
- Silicone caulk or sealant
- Mounting brackets (for under-mount sinks)
- Supply lines (if replacements are needed)
- P-trap and tailpiece (if the old ones are worn out)
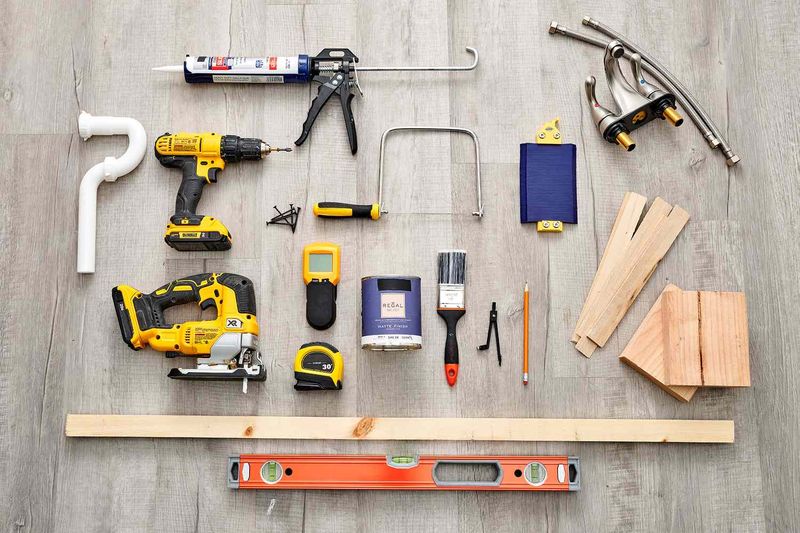
Don't forget to double-check the compatibility of your new sink with the faucet and drain assembly to avoid last-minute adjustments.
Step-by-Step Guide to Installing a Bathroom Sink
Now that you have your tools and materials ready, it's time to start the bathroom sink installation. Follow these steps carefully to ensure a smooth process and a professional result.
1. Turn Off the Water Supply
Before anything else, locate the shut-off valves under the sink and turn them off to stop the water flow. If you can't find them, turn off the main water supply for your home.
Open the faucet to drain any remaining water.
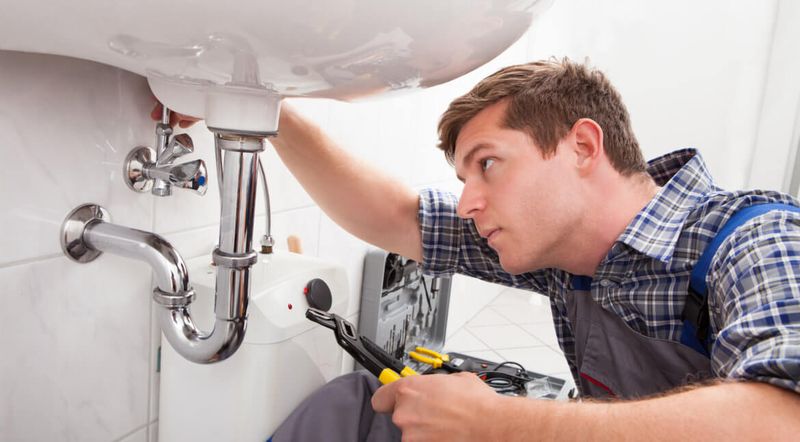
2. Disconnect the Plumbing and Remove the Old Sink
Place a bucket under the P-trap to catch any water or debris.
Use an adjustable wrench to disconnect the supply lines and P-trap.
Loosen and remove any fasteners securing the old sink to the countertop.
Gently lift out the old sink and clean the area where the new bathroom sink will be installed.
3. Install the Faucet
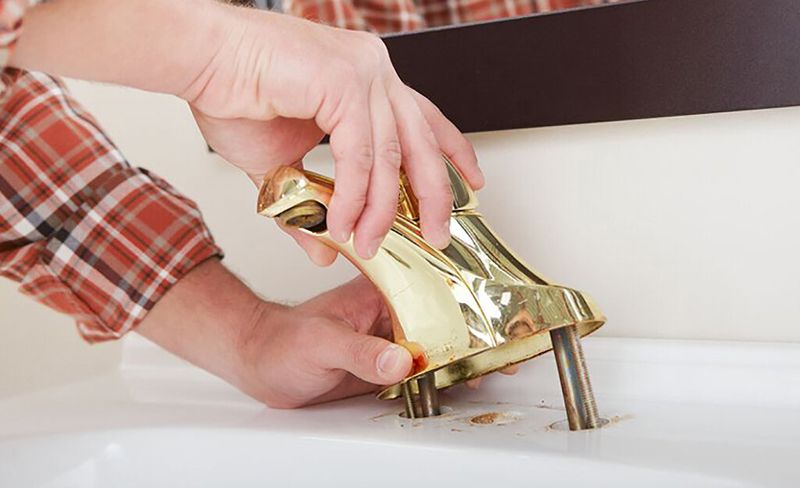
Attach the faucet to the sink before mounting it. This bathroom sink faucet installation is much easier to do while the sink is off the countertop.
Secure the faucet using the hardware provided, and apply the plumber's putty or silicone around the base to create a watertight seal.
4. Caulk Around the Edge of the Sink
Apply a bead of silicone caulk along the edge of the sink cutout on the countertop.
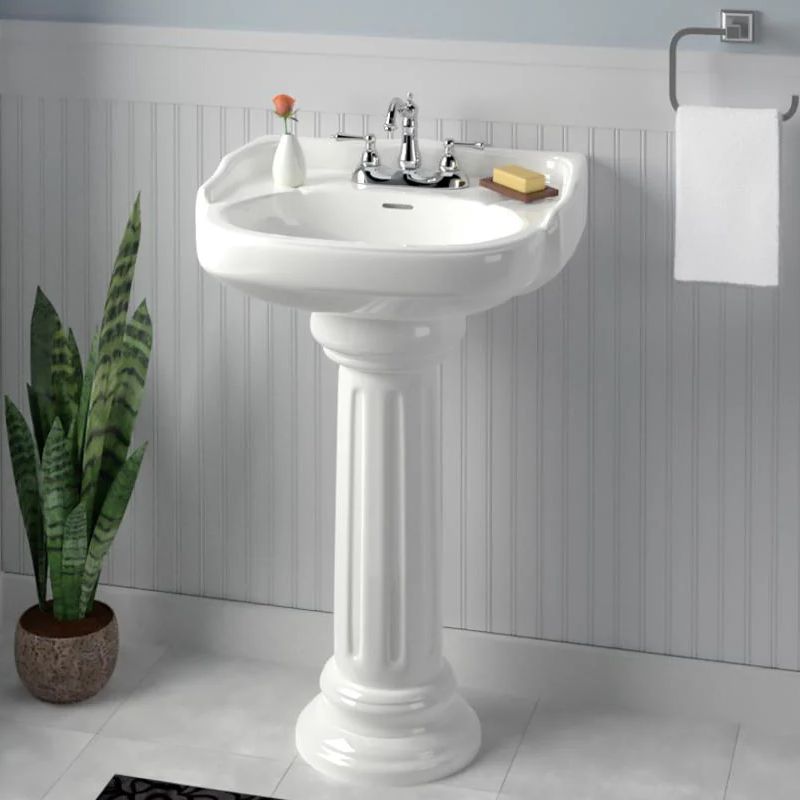
This is the pedestal sink installation process. If you're installing an under-mount sink, attach the mounting brackets to the sink at this stage.
5. Mount Your Sink
For undermount bathroom sink installation, position the sink underneath the countertop and secure it using the mounting brackets. You might as well use a level to make sure it's aligned properly.
6. Attach the Drain and Plumbing
Install the drain assembly by applying the plumber's putty to the underside of the drain flange and inserting it into the drain hole.
Secure it with the provided locknut.
Reconnect the P-trap and supply lines using the plumber's tape on the threads for a watertight seal.
How Much Does a New Bathroom Sink Installation Cost?
The cost of installing a new bathroom sink can vary depending on several factors, including the type of sink, materials, and whether you choose to hire a professional.
Below, we break down the costs to help you plan your budget.
1. Sink Costs
Drop-In Sinks: $50–$300 (affordable and easier to install)
Undermount Sinks: $150–$500 (sleek design, but higher installation complexity)
Pedestal Sinks: $100–$400 (stylish and space-saving)
Vessel Sinks: $80–$500 (modern and decorative option)
Wall-Mounted Sinks: $200–$600 (require professional installation due to plumbing adjustments)
2. Additional Materials
Faucet Set: $50–$250
Drain Assembly Kit: $20–$50
Mounting Brackets: $10–$30
Caulk and Sealant: $5–$10
3. Labor Costs (If Hiring a Professional)
Hiring a professional plumber can ensure proper bathroom sink installation but comes with additional costs:
Hourly Rate: $50–$150 per hour (depending on location)
Total Installation Cost: $150–$500 on average, including labor and materials.
If you can install the bathroom sink yourself, you can save on labor costs, spending only on materials. However, you must ensure you have the tools and skills needed to avoid costly mistakes.

How Long Does It Take to Install a Bathroom Sink?
The time required to install a bathroom sink depends on factors such as the type of sink, your level of expertise, and whether any additional plumbing modifications are needed.
Here's a breakdown of what to expect.
- Typical Installation Time
- Drop-In Sink:1–2 hours (easiest to install)
- Undermount Sink:2–4 hours (require precise alignment and caulking)
- Pedestal Sink:3–5 hours (involve securing the pedestal and connecting plumbing)
- Wall-Mounted Sink:4–6 hours (It may require extra time for wall reinforcement and plumbing adjustments)
 Ads
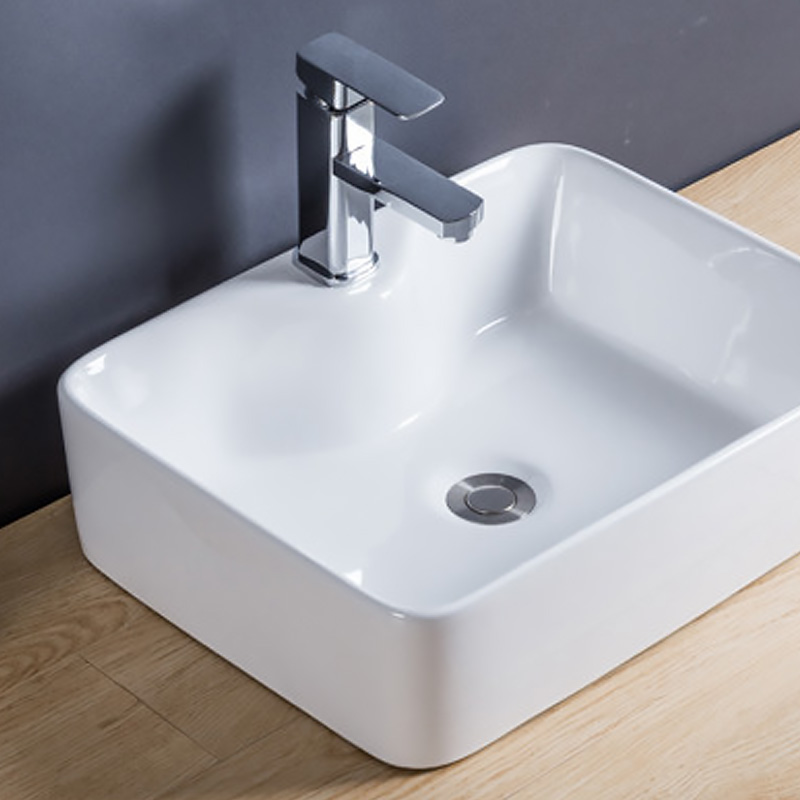
Ads Rectangular Bathroom Sink EZ023
Handcrafted from natural materials, this rectangle basin features Microcrystalline Glaze Technology, ensuring a durable and pristine finish. Experience the blend of elegance and functionality with the EZ023 rectangular countertop basin, perfect for any modern bathroom.
Factors That Impact Installation Time
- Skill Level: If you're a beginner, allow extra time for reading instructions and troubleshooting issues.
- Condition of Plumbing: Replacing old or corroded pipes may take additional time.
- Sink Type and Complexity: More intricate sink designs, like vessel sinks or wall-mounted options, may require more effort and time.
- Tools and Materials: Having all the necessary tools and materials ready can significantly speed up the process.
- Professional Installation Time
If you hire a professional plumber, the bathroom sink installation will generally take less time, ranging from 1–4 hours depending on the sink type and scope of the work. They'll also handle any unexpected installing bathroom sink plumbing issues efficiently.
By planning your installation time effectively, you can ensure the bathroom sink installation process goes smoothly without feeling rushed.
Common Issues and Solutions During Bathroom Sink Installation
Even with proper planning, challenges can arise during a bathroom sink installation. Here are some common issues you might encounter and practical solutions to address them:
1. Leaks in the Plumbing Connections
Problem: Water leaks from the supply lines or P-trap after installation.
Solution:
- Use the plumber's tape (Teflon tape) on all threaded connections to ensure a watertight seal.
- Tighten connections carefully. But avoid overtightening as it can damage fittings.
- Double-check that the washers are properly aligned and seated.
2. Sink Doesn't Sit Flush with the Countertop
Problem: The sink wobbles or doesn't fit securely in the cutout.
Solution:
- Use a level to ensure the sink is aligned correctly.
- Apply additional silicone caulk or plumber's putty to fill any gaps.
- For undermount bathroom sink installation, adjust the mounting brackets for a secure fit.
3. Drain Assembly Leaks
Problem: Water seeps from the drain assembly.
Solution:
- Apply the plumber's putty under the drain flange before installing it.
- Ensure the locknut is tightened securely but not over-tightened.
- Test the drain by running water to confirm there are no leaks.
4. Caulk Doesn't Cure Properly
Problem: The silicone caulk around the sink edge stays sticky or doesn't set.
Solution:
- Use high-quality silicone caulk and apply it evenly.
- Allow sufficient curing time as specified by the manufacturer (usually 24 hours).
- Ensure the area is clean and dry before applying caulk.
5. Misaligned Faucet or Drain
Problem: The faucet or drain doesn't align properly with the sink.
Solution:
- Adjust the position of the faucet and tighten the mounting hardware.
- Reposition the sink slightly if possible to align the drain properly.
6. Old Plumbing Doesn't Fit New Sink
Problem: The existing plumbing doesn't match the new sink's connections.
Solution:
- Use adapters to bridge the gap between the old and new plumbing parts.
- Replace outdated or damaged plumbing components with new ones.
You can take photos of your plumbing setup before disassembling it. This will make it easier to reconnect everything correctly during installation.
DIY vs. Hiring a Pro to Install a Bathroom Sink
When it comes to installing a bathroom sink, you have two options: tackle the project yourself or hire a professional. Both approaches have their pros and cons.
The right choice depends on your skills, budget, and the complexity of the installation. Here are some points you can take into account:
DIY Installation
Benefits
- Cost Savings: You'll save on labor costs, which can range from $150–$500.
- Satisfaction: Completing the project yourself can be a rewarding experience.
- Flexibility: You can work at your own pace without waiting for a professional.
Drawbacks
- Skill Requirements: Installing bathroom sink plumbing related knowledge are essential to avoid mistakes.
- Time-Consuming: A DIY installation can take several hours, especially if you're new to the process.
- Risk of Errors: Mistakes like leaks, improper alignment, or damage to the sink or countertop can lead to costly repairs.
Hiring a Professional
Benefits
- Expertise: Professionals have the skills and tools to handle complex installations.
- Time-Efficient: A pro can complete the job faster and troubleshoot unexpected issues.
- Guaranteed Work: Many professionals offer warranties on their work, giving you peace of mind.
Drawbacks
- Higher Cost: Labor fees can significantly increase the total cost of the project.
- Scheduling: You'll need to coordinate with a professional's availability.
When to DIY
- The sink is a simple drop-in or undermount type.
- The existing plumbing is in good condition and doesn't require modifications.
- You have basic plumbing tools and experience.
When to Hire a Pro
- The sink is a wall-mounted or pedestal sink, which requires more advanced skills.
- You're dealing with damaged or outdated plumbing that needs repairs or replacement.
- You want the job done quickly and flawlessly without the risk of errors.
When to Replace a Bathroom Sink?
Over time, bathroom sinks can wear out, become outdated, or simply stop functioning effectively. If you're wondering whether it's time to replace your sink, here are some common signs to look for:
1. Leaks
If your sink has persistent leaks that cannot be fixed by tightening connections or replacing washers, it may be time for a new one. Leaks can lead to water damage and higher utility bills.
2. Cracks
Visible cracks in your sink not only look unappealing but can also lead to water seeping through, causing damage to your countertop or floor.
3. Rusted or Corroded Parts
If you notice rust or corrosion on your sink or its fittings, it's a clear sign of wear and tear. Replacing the sink can prevent further damage and improve your bathroom's aesthetics.
4. Outdated Design
If your sink's design looks dated and doesn't match your bathroom's style, replacing it can give your space a fresh and modern look.
5. Low Water Volume
If water flow is consistently weak despite fixing clogs or cleaning the faucet, the sink's internal components may be damaged and require replacement.
6. Constantly Clogging
Frequent clogs may indicate that the sink's drainage system is damaged or poorly designed. Upgrading to a new sink can resolve these issues.
Maintenance Tips for Your Bathroom Sink
Apart from knowing common signs of bathroom sink replacement, you should also follow some maintenance tips.
By doing so, you can prolong the lifespan of your bathroom sink and ensure it remains in great working condition. Here is a breakdown:
How to Keep Your Sink in Good Condition
- Regularly inspect your sink for any signs of leaks or wear and tear. Make timely repairs as issues arise.
- Tighten loose connections to avoid water damage or dripping.
- Avoid placing heavy items on or around your sink to prevent accidental cracks or scratches.
Cleaning Tips
- Use a non-abrasive all-purpose clean to maintain the surface without scratching.
- Avoid harsh chemical clog removers as they can corrode pipes over time.
- Clean the faucet and drain area weekly to prevent mineral buildup and grime.
- For tougher stains, use a mixture of baking soda and vinegar for a natural and eco-friendly solution.
FAQs
Here are some commonly asked questions about bathroom sink placement and problems:
What Can I Use to Hold My Sink in Place?
Use silicone caulk or mounting clips. They are specifically designed for your sink type to ensure a secure fit.
How Is a Bathroom Sink Attached?
Most bathroom sinks are attached using mounting brackets, adhesive caulk, or a combination of both, depending on the sink style and manufacturer guidelines.
How Do You Attach a Bathroom Sink to the Wall?
First, align the sink with the wall mountings and ensure it is level. Then, secure it in place using the screws or brackets provided, making sure it is tightly fastened to prevent movement.
How do you tell if your sink has overflowed?
Look for an overflow hole near the top of the sink bowl, which allows excess water to drain and prevents spills.
How to Stop a Bathroom Sink from Leaking?
Inspect connections for tightness, replace any worn washers or seals, and use the plumber's tape for extra leak protection.
Conclusion
Installing a bathroom sink may seem like a challenging task at first, but with the right tools, preparation, and step-by-step guidance, it can be a straightforward process.
For those who feel confident in their DIY skills, this guide provides all the essential steps to get the job done. However, if you're unsure or dealing with a complex installation, hiring a professional can save time and prevent costly mistakes.
Do you still have some bathroom sink installation problems? jabrasanitary.com can solve your installation, replacement, and maintenance issues with every purchase. It is a reliable bathroom sink factory for your hassle-free experience!


