 English
Jabra Sanitary is a sanitaryware supplier offering toilets, sinks, faucets, bathtubs, etc., at competitive prices. If you're a distributor, wholesaler, or project contractor, get a quote today!
 $23.9 Limited-time Offer
 Consignment Policy
 20 Years of Experience
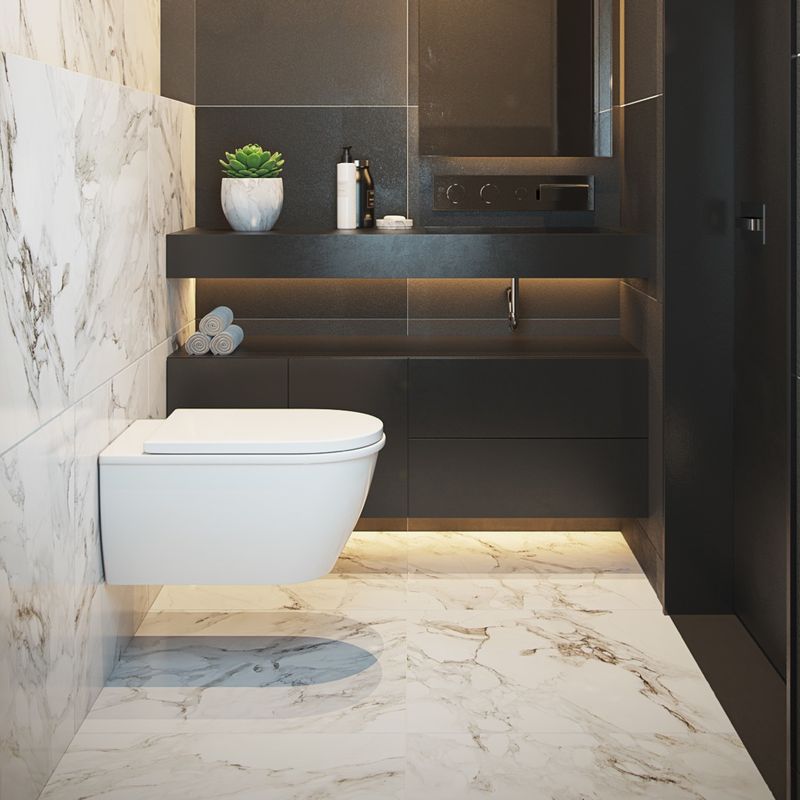
Wall-hung toilets are becoming increasingly popular due to their sleek design and space-saving benefits.
Unlike traditional floor-mounted toilets, wall-hung toilets are mounted directly on the wall, leaving the open floor area beneath the bowl. This creates a modern look and makes cleaning the bathroom much easier. <Wall-hung Toilets vs. Floor-mounted Toilets>
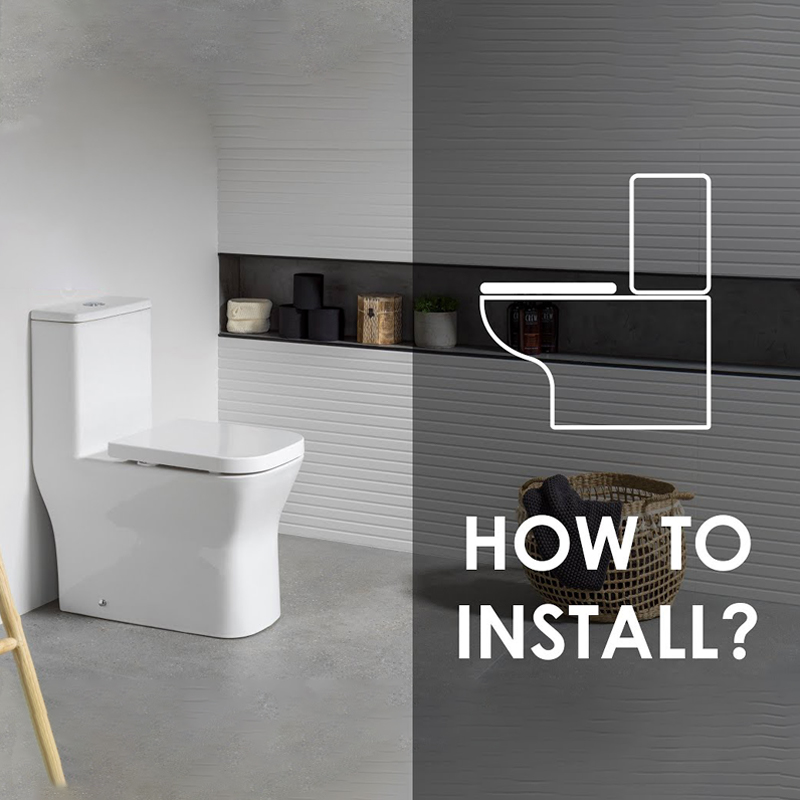
In this guide, we will teach you how to install a wall-hung toilet, from preparation to installation and maintenance. Whether you're a DIY enthusiast or planning to hire a professional, this article will provide valuable insights into wall-mounted toilet installation.
Table of Contents
Wall Hung Toilet Advantages
Components of a Wall Hung Toilet
Preparation and Planning
How to Install a Wall Hung Toilet
Common Mistakes to Avoid
Wall Hung Toilet Maintenance
When to Call a Professional Plumber
FAQs
Conclusion
Wall-hung toilets offer several advantages as below. Understanding the wall-hung toilet advantages can help you make an informed decision for your bathroom upgrade.
- Space-Saving Design: Wall-hung toilets take up less space, making them ideal for small bathrooms. The open floor area creates a sense of spaciousness and ease of cleaning.
- Modern Aesthetic: These toilets offer a sleek, minimalist look that complements modern bathroom designs.
- Adjustable Height: Unlike floor-mounted toilets, wall-hung toilets can be installed at a height that suits your preferences, making them more accessible for all users.
- Ease of Cleaning: With no base touching the floor, cleaning around and under the toilet becomes much easier, reducing the buildup of dust and grime.
- Durability and Stability: Wall-hung toilets, when installed properly, are incredibly sturdy and can support significant weight due to the robust wall carriers used.
Before diving into the wall-mounted toilet installation process, it's important to understand the main components of a wall-hung toilet:
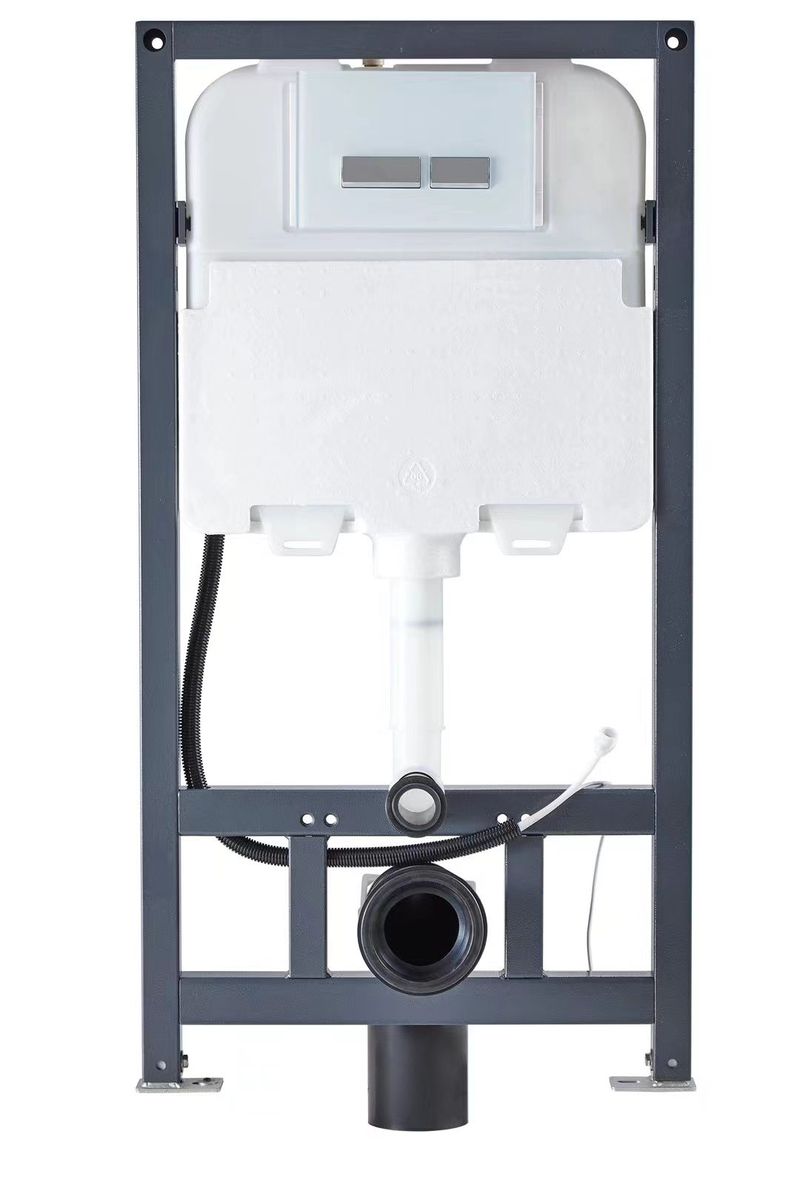
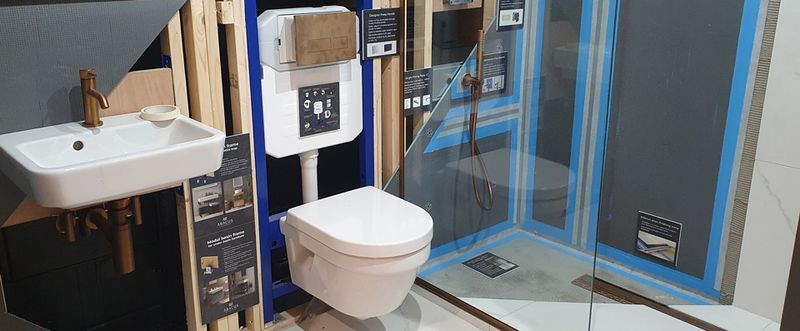
- Wall Carriers: The toilet wall carrier is the most critical component of a wall-hung commode installation. It is a sturdy metal frame that is installed inside the wall and supports the weight of the toilet bowl. The carrier frame also houses the water tank and plumbing connections.
- Toilet Bowl: The toilet bowl is mounted onto the wall carrier and is designed to appear as though it is "floating" above the floor. Wall-hung toilet bowls come in various shapes and sizes to match your bathroom's design.
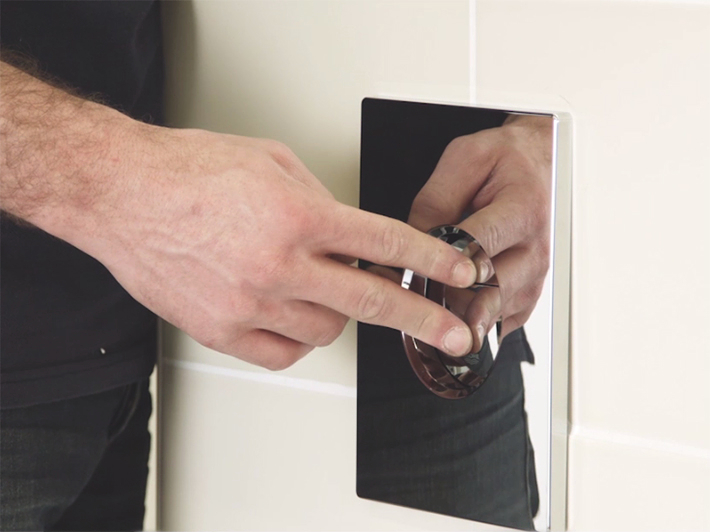
- Flush Plate: The flush plate is the visible part of the flushing mechanism, usually installed on the wall above the toilet. It controls the flush and is available in different designs to match your bathroom decor.
Preparation and Planning
Proper preparation and planning are essential for a successful wall-hanging toilet installation. Here's how to get started:
Turn off the water supply
Before dismantling your old unit, make sure to turn off the water supply. This will prevent any water leakage or damage during the installation process.
Preparing Your Tool Kit
- Pencil: Essential for marking positions on the wall.
- Tape Measure: Used to ensure accurate distances and alignments.
- Level: Ensures the toilet is installed evenly.
- Stud Finder: Locates wall studs for secure mounting.
- Drill: Necessary for making precise holes.
- Hammer: Useful for tapping in anchors or nails.
- Saw: A hacksaw or reciprocating saw for cutting through drywall or wooden supports.
- Screwdriver: Both flathead and Phillips types are needed for various screws.
- Pliers: Handy for gripping and tightening components.
- File: Helps to smooth any rough edges after cutting.
Materials and Fixings
- Bolts and Screws: Required for securing the toilet to the wall and frame.
- Wall Anchors: Provide additional support if wall studs are not available.
- Sealant: Both regular and silicone sealants are necessary for water-tight seals.
- Wax Ring: Creates a seal between the toilet and the drain.
- Caulking: Used to seal gaps around the edges of the toilet.
- Toilet Bolts: Specifically designed bolts to attach the toilet to its mounting frame.
Having these tools and materials readily available ensures that the wall hung toilet is securely and correctly installed. Make sure to double-check everything before starting the wall-hung toilet installation process to avoid any headaches later on.
How to Install a Wall Hung Toilet
1. Installing the Carrier Frame
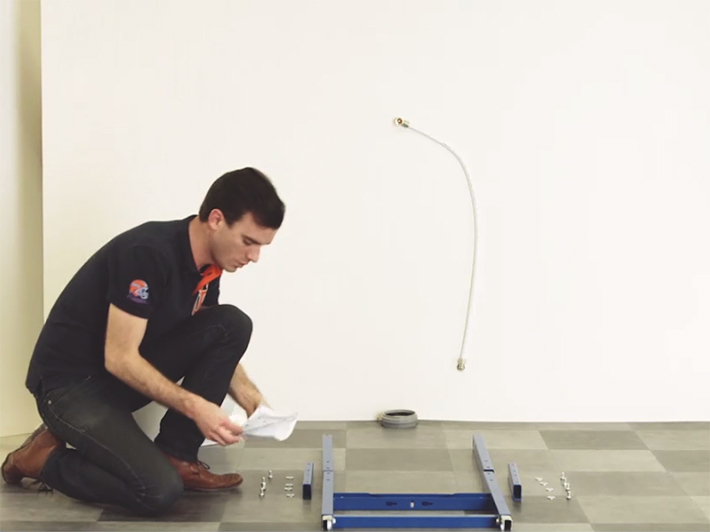
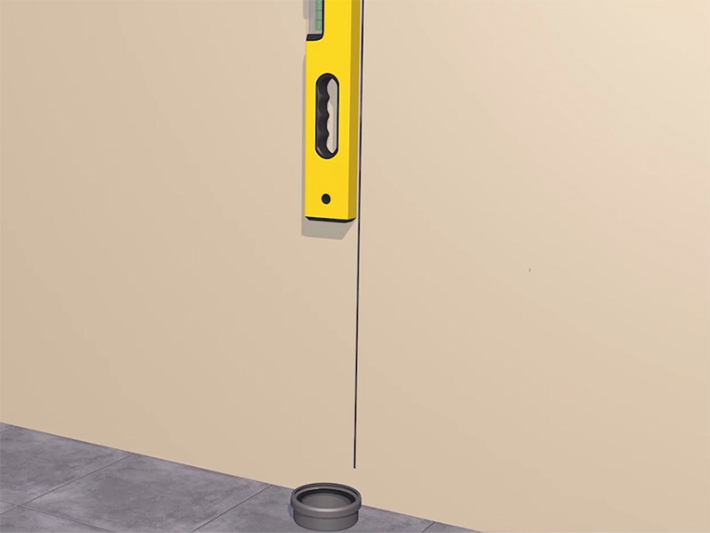
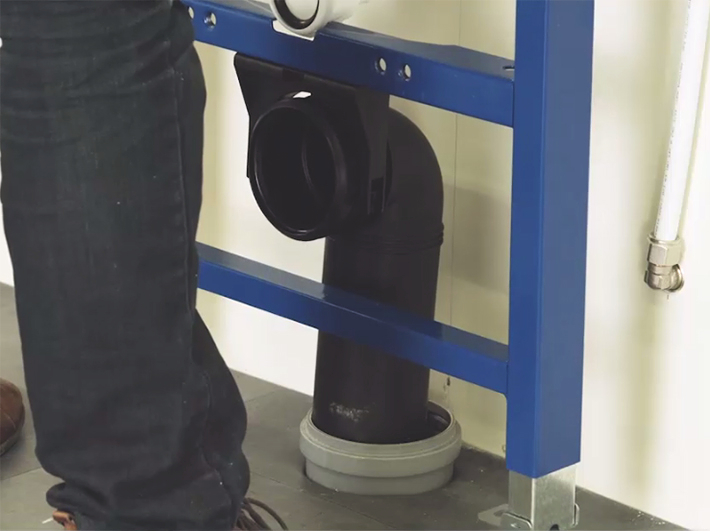
a. Positioning the Unit and Marking: Start by positioning the carrier frame inside the wall cavity. Use a spirit level to ensure that the frame is perfectly horizontal. Mark the mounting points on the wall where the frame will be attached.
b. Adjusting and Attaching the Unit: Adjust the height of the carrier frame according to your desired toilet height. Attach the frame to the wall studs using heavy-duty bolts. Ensure that the frame is securely fastened, as it will support the entire weight of the toilet bowl.
2. Wall-mounted Toilet Plumbing Connections
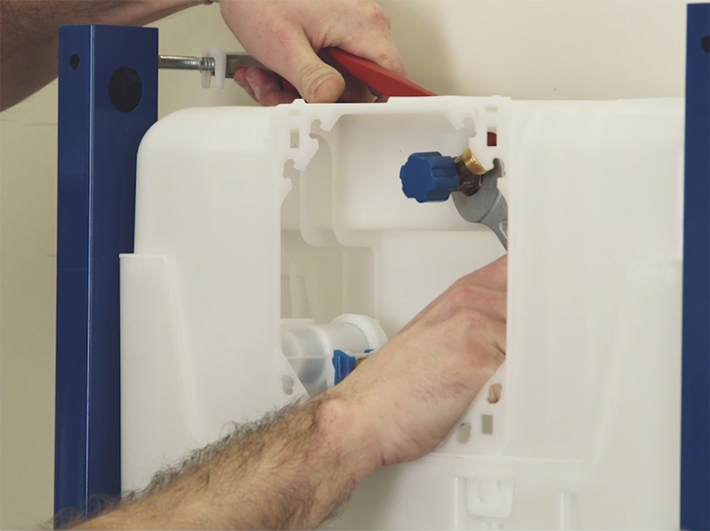
Once the carrier frame is securely in place, connect the plumbing. This involves attaching the water supply line to the concealed cistern inside the wall carrier and connecting the drainpipe to the sewage system. Ensure all connections are tight to prevent leaks.
3. Fitting the Wall Mounted Toilet
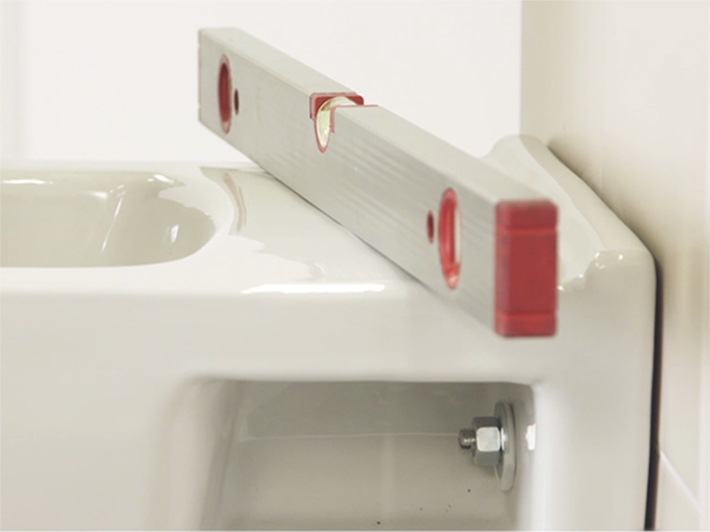
Mount the toilet bowl onto the carrier frame's protruding bolts. The bowl should align perfectly with the plumbing connections. Tighten the nuts on the bolts to secure the bowl in place. Make sure the bowl is level and does not wobble.
4. Installing the Flush Mechanism
Next, install the flush mechanism by attaching it to the concealed cistern inside the wall carrier. Follow the manufacturer's instructions carefully to ensure proper alignment and function.
5. Installing the Actuator Panel and Toilet Seat
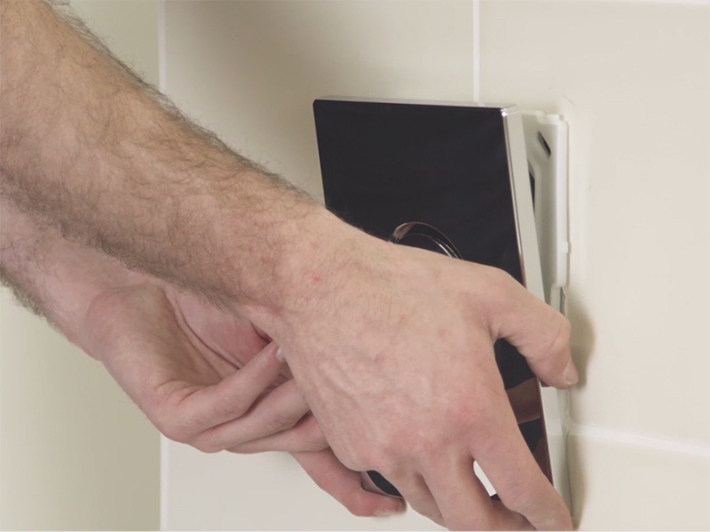
Once the flush mechanism is in place, install the actuator panel (flush plate) on the wall. The panel should align with the mechanism to ensure smooth operation.
Finally, attach the toilet seat to the bowl, ensuring it fits securely and comfortably.
6. Final Check
After all components are installed, perform a final check to ensure everything is working correctly. Turn on the water supply and test the flush to check for leaks or malfunctions. <Check Troubleshooting Wall Hung Toilet Problems>
Checking for Leaks
Start by examining all the connections, especially at the flush pipe and water supply line. Use a flashlight to look for any water drips or damp spots around these areas.
Next, turn on the water supply and closely watch for any leaks at the connection points and around the base of the toilet.
If any leaks are found, turn off the water supply immediately and inspect the wall mounted toilet plumbing connections. Tighten any loose connections, and if the problem persists, contact a plumber. <Learn how to fix a leaking toilet tank>
To further test, place a few layers of paper towels around the connections. This can help identify small leaks that might not be visible immediately.
Functionality Test
Once confident there are no leaks, proceed to test the flush mechanism. Press the flush button or lever to ensure it activates smoothly and releases water into the bowl correctly. Listen for any unusual noises, which could indicate an issue.
Check that the bowl refills properly and that the water level remains consistent. Flush the toilet a few times to confirm the entire system works without any problems.
Ensure the toilet seat is stable and securely attached. Sit on the seat to check for any movement or instability. Make any necessary adjustments to secure it firmly.
By following these steps, the wall-hung toilet installation should be verified as complete and fully operational.
Common Mistakes to Avoid
When installing a wall-hung toilet, avoid these common mistakes:
- Improperly Securing the Carrier Frame: Ensure the frame is securely attached to the wall studs to prevent wobbling or instability.
- Incorrect Plumbing Connections: Double-check all plumbing connections to prevent leaks. Improper connections can lead to water damage and costly repairs.
- Running toilet issue: This usually indicates a problem with the flush valve or the fill valve. Adjusting or replacing these parts can often restore normal function. Regularly checking these components can preempt more severe problems.
- Rushing the Installation: Take your time during each step to ensure everything is installed correctly. Rushing can result in mistakes that may require rework.
Wall Hung Toilet Maintenance
Regular wall-hung toilet maintenance is essential to keep your wall-hung toilet clean and ensure it functions properly. Wall-hung toilets are relatively easy to maintain, but there are a few key things to keep in mind:
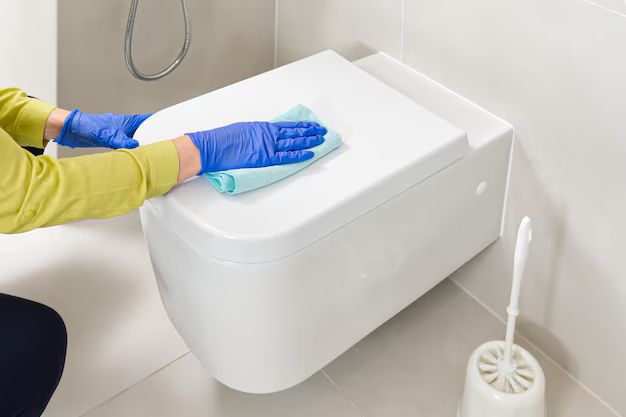
- Regular Cleaning: Clean the toilet bowl and flush plate regularly to prevent the buildup of dirt and grime.
- Check for Leaks: Periodically check the plumbing connections behind the wall for any signs of leaks. Early detection can prevent major water damage.
- Inspect the Wall Carrier: Occasionally inspect the wall carrier for any signs of wear or instability. Ensure that the frame remains securely attached to the wall.
Cleaning Tips
You should clean the toilet bowl and seat regularly to prevent the build-up of stains and germs.
Use a toilet cleaner designed for porcelain surfaces. Apply the cleaner inside the bowl and scrub with a toilet brush, paying extra attention to the rim where dirt can accumulate.
The exterior surfaces like the tank cover, flush plate, and seat should also be wiped down. Use a mild bathroom cleaner or a solution of water and vinegar on a soft cloth to avoid scratching.
Don't forget to clean around the bolts and mounting areas, where dirt and bacteria can hide.
For easy cleaning, a weekly routine works best. Regular cleaning not only keeps the toilet looking new but also prevents unpleasant odors and maintains hygiene.
When to Call a Professional Plumber
Installing a wall-hung toilet can be a complex task. Here are situations when hiring a professional plumber is necessary.
Complex Installations and Challenges
A professional plumber is essential for complex installations. If the wall currently lacks proper support, structural modifications may be needed. The plumber can ensure the wall frame can handle the weight of the toilet.
Water supply and drainage systems might require rerouting, ensuring connections are leak-free. Tightening connections and securing bolts may seem simple, but mistakes can lead to leaks and water damage.
Mobility issues may also require customizations in height and placement. Ensuring that the toilet seat fits the user's needs is crucial. A professional can handle these customizations efficiently.
Upgrading Existing Installations
When upgrading an existing wall-mounted toilet, calling a professional plumber is wise. Old systems may have specific requirements and older pipes can complicate the project.
The plumber can assess the condition of existing plumbing and determine if replacements are needed. They can also manage any necessary upgrades to meet current plumbing codes.
For those embarking on a bathroom upgrade, a professional can ensure that new fixtures integrate seamlessly with existing systems. This minimizes the risk of water damage and ensures long-term functionality.
A bathroom upgrade might also involve adding features for accessibility, such as higher seats or supports for mobility issues. A professional's expertise ensures these features are installed correctly.
FAQs
How long does it take to install a wall-hung toilet?
The installation process can take anywhere from 4 to 8 hours, depending on the complexity of the installation and the experience of the installer.
Can I install a wall-hung toilet on any wall?
No, wall-hung toilets require a solid wall structure, preferably a load-bearing wall, to support the carrier frame and the toilet's weight.
Are wall hung toilets strong?
Yes, wall-hung toilets are generally strong and reliable when installed correctly. They are mounted on a sturdy steel frame that is anchored to the wall studs, which can typically support up to 500 pounds (approximately 227 kg).
This frame is concealed within the wall, and the toilet itself is designed to handle the same weight capacity as traditional floor-mounted toilets. Proper installation by a professional is essential to ensure stability and long-term durability.
How do I maintain the stability of my wall-mounted toilet?
Ensure the carrier frame is securely attached to the wall studs and periodically check the bolts and connections to maintain stability.
Are wall-hung toilets more expensive to install than floor-mounted ones?
Yes, wall-hung toilets are generally more expensive to install due to the need for a carrier frame and the additional labor involved in concealing the plumbing.
What should be considered when estimating the cost of installing a wall-mounted toilet?
Consider the cost of the toilet itself, the support frame, and installation materials. Labor costs can vary depending on the complexity and region.
Hidden costs, such as additional wall mounted toilet plumbing or wall reinforcement, should also be factored in.
Conclusion
Installing a wall-hung toilet is a great way to enhance the look and functionality of your bathroom.
By following the wall-mounted toilet installation steps in this guide, you can ensure a successful wall-hung toilet installation that will provide years of reliable use.
Whether you're fitting a wall-mounted toilet yourself or hiring a professional, understanding the process will help you achieve the best results.
The Jabra water tank is crafted from pure PP material without any added fillers, ensuring durability and quality. It features high-end internal fittings, with an inlet valve that resists high pressure and dirty water, and a drain valve that has passed over 200,000 tests.
With superior quality at an attractive price, Jabra Sanitary is your top choice—especially when selecting a wall-mounted toilet!


