 Spanish
Jabra Sanitary, una fábrica profesional de artículos sanitarios, ofrece productos cerámicos económicos. Buscamos distribuidores, mayoristas y contratistas. ¡Solicite información ahora!
 Precios directos de fábrica
 Bajo pedido mínimo (MOQ)
 Más de 20 años de experiencia en la industria
A leaking toilet tank can cause water wastage, increase your water bills, and lead to potential water damage over time.
Fortunately, fixing a leaking toilet tank is a straightforward process that you can often handle yourself. Here's a step-by-step guide to help you fix the issue.
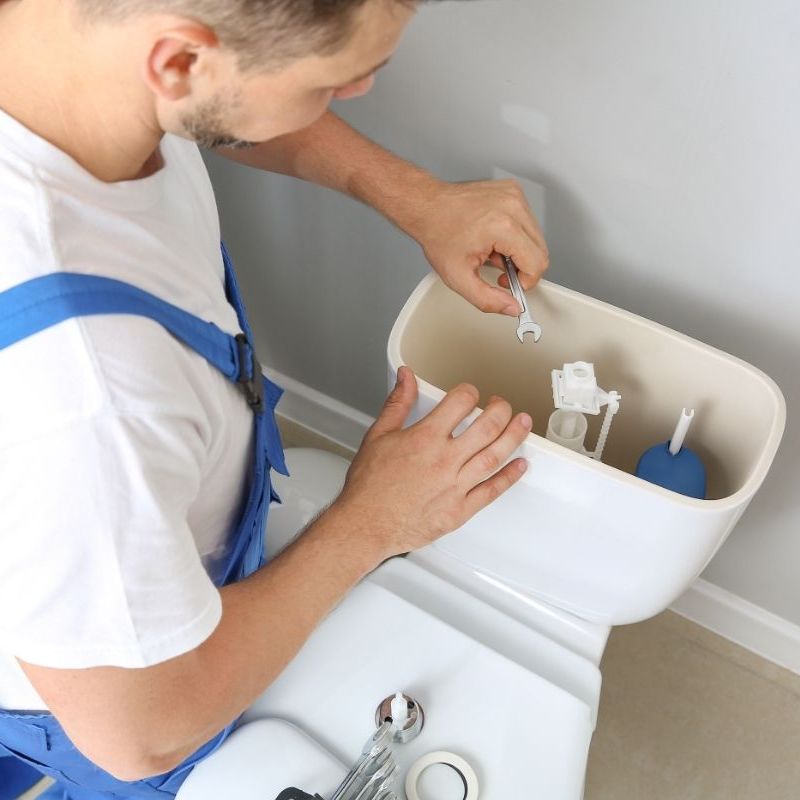
Table of Contents
Identifying the Source of the Leak
Gathering Necessary Tools and Materials
Steps to Fix a Leaking Toilet Tank
Preventative Measures for Toilet Tank Leaks
When to Call a Professional
Frequently Asked Questions
Conclusion
Before you start to repair a leaking toilet tank, you need to identify where the water is coming from.
1. Inspecting the Tank Bolts
The tank bolts, which secure the toilet tank to the bowl, can be a common source of leaks. One should first dry the area around the bolts with a towel.
Then, inspect the bolts for any signs of water seepage or corrosion. If any moisture is detected after drying, or if the bolts are corroded, they likely need to be tightened or replaced.
2. Checking the Flush Valve
Another common leak point is the flush valve, located at the bottom of the tank. Inspect the flush valve for signs of wear or damage, such as cracks or a corroded flapper, which can result in water leaking into the toilet bowl.
By adding a few drops of food coloring to the water in the tank and waiting a few minutes, one can observe if the colored water appears in the bowl, indicating a leak at the flush valve.
3. Examine the Flapper
Examine if there are leaks due to a worn-out flapper.
4. Test the Overflow Tube
Test if the water is running into the overflow tube due to a high water level.
Gathering Necessary Tools and Materials
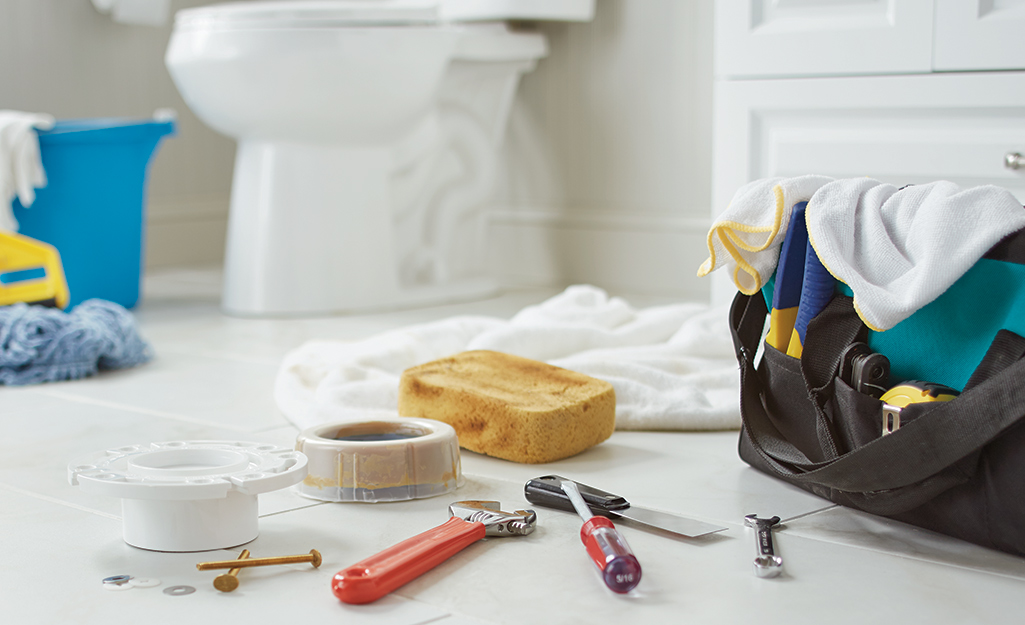
Before you begin to fix a leaking toilet bowl, it is important to have all the necessary tools and materials at hand.
Tools to Repair a Leaking Toilet:
- Adjustable wrench: Needed for loosening and tightening nuts and bolts.
- Screwdriver: Used for adjusting or replacing the screws on the toilet tank.
- Sponge and bucket: For emptying any remaining water in the tank and cleaning up spills.
- Towels or rags: Handy for drying areas before and after repairs.
Materials for Fixing a Leaky Toilet Tank
- Replacement bolts and washers: If the leak is coming from the tank bolts, these will be necessary to fix the leaking toilet tank bolt issue.
- Wax seal: In case the leak is at the toilet base, changing toilet tank seal will resolve the issue.
- Plumber's Putty/Epoxy: This is useful for creating seals and fixing any minor leaks.
It's also wise to have some plumber's tape on hand, which can be used to secure connections and prevent future leaks. Always ensure that tools and materials match the specifications of your toilet to avoid further complications.
With these tools and materials at the ready, it's time to fix a dripping toilet tank.
Steps to Fix a Leaking Toilet Tank
How to stop a toilet from leaking? Here is the step-by-step guide to identify and replace defective parts for repairing a leaking toilet tank.
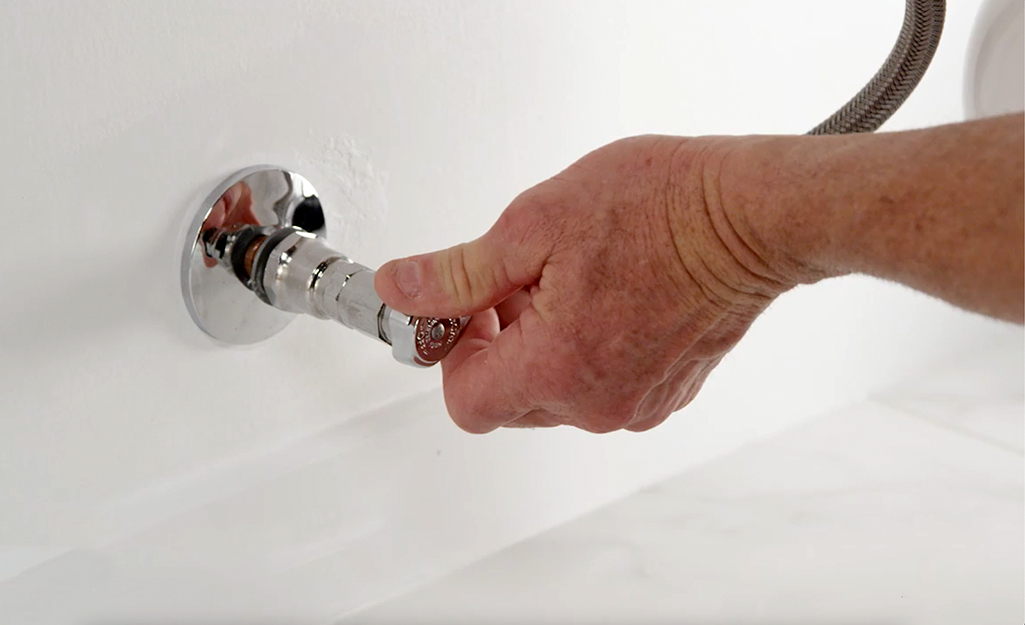
1. Turn Off the Water Supply
Locate the shutoff valve near the base of the toilet. The shut-off valve is typically located on the wall behind the toilet. Turn the valve clockwise to stop the water flow.
2. Drain the Tank
Flush the toilet to empty the tank, and use a sponge or towel to soak up any remaining water.
3. Quick Fix for Leaking Toilet Tank
a. Toilet Tank Leaking From Bolts
Inspect the Bolts:
- Check the bolts holding the tank to the bowl. If they are corroded or loose, they could be the source of the leak.
Tighten or Replace Bolts:
- Use an adjustable wrench to tighten the bolts. If the leak persists, you may need to replace the bolts and gaskets.
Replace Bolts and Gaskets:
- Remove the old bolts and gaskets.
- Install new gaskets on the bolts and insert them through the tank and bowl.
- Tighten the bolts evenly to ensure a proper seal.
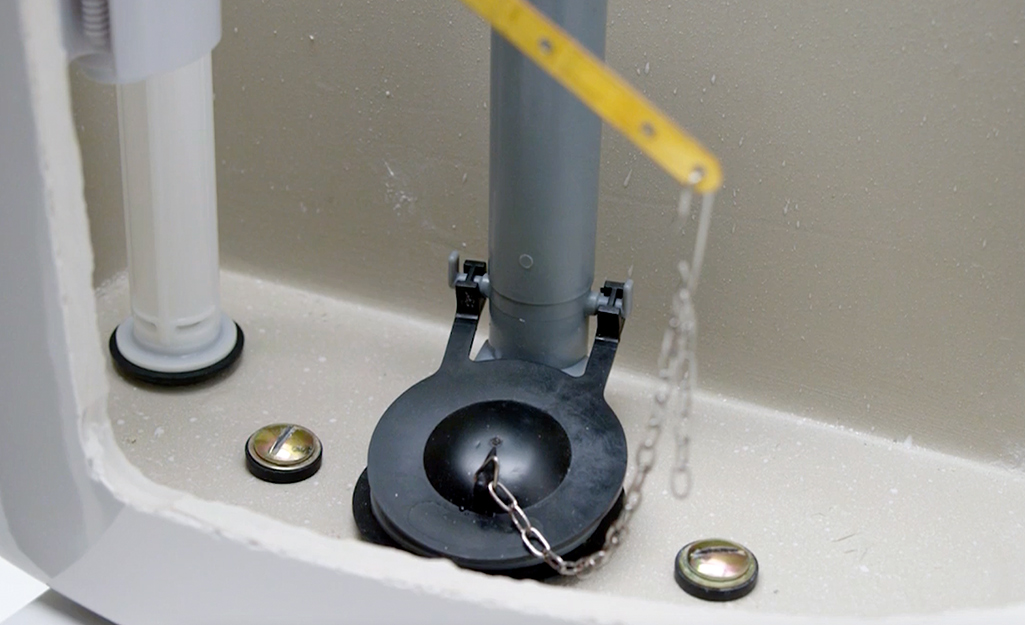
b. Toilet Flapper Leaking
Remove the Old Flapper:
- Disconnect the flapper from the flush handle and the overflow tube.
Install the New Flapper:
- Attach the new flapper to the overflow tube and connect it to the flush handle.
- Ensure it seals properly when the tank is filled.
c. Toilet Fill Valve Leaking
Remove the Old Fill Valve:
- Unscrew the nut securing the fill valve to the tank using an adjustable wrench.
Install the New Fill Valve:
- Insert the new fill valve into the tank and secure it with the nut.
- Connect the water supply line and adjust the fill valve according to the toilet manufacturer's instructions.
Or Install a New Flush Valve Gasket:
- Examine the flush valve gasket situated between the tank and the bowl.
- If it shows signs of wear or damage, remove the old gasket and set a new one in place to form a watertight seal.
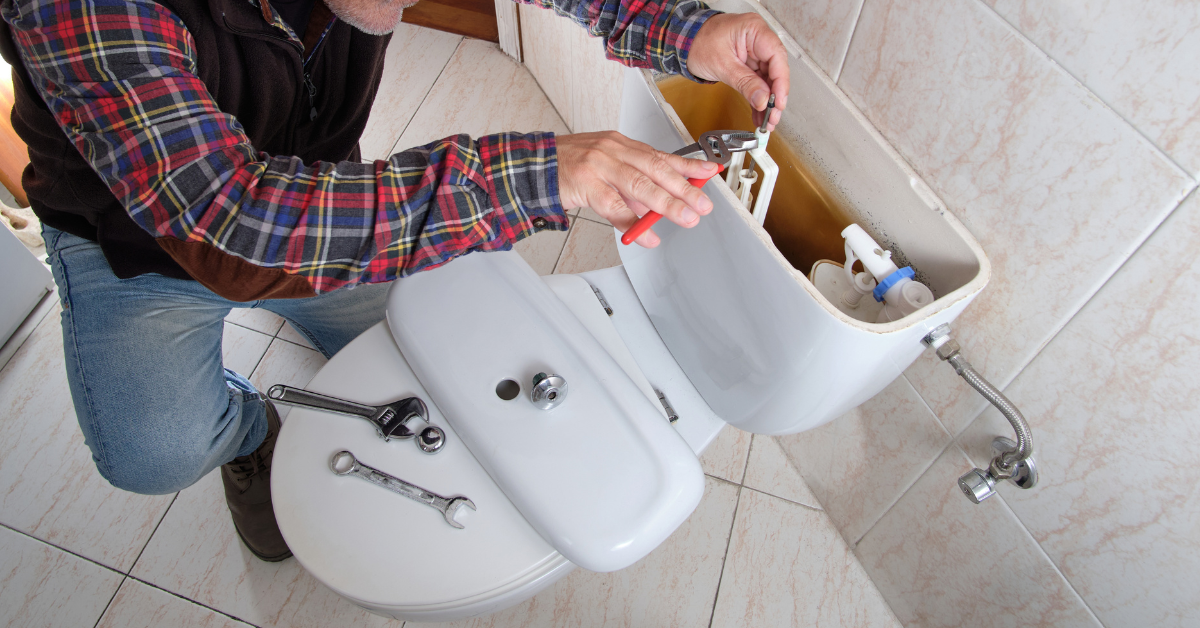
d. Toilet Water Level Too High
Adjust the Float:
- If the water level is too high, adjust the float on the fill valve to lower the water level.
Check for Proper Water Level:
- The water level should be about an inch below the top of the overflow tube. Make adjustments as needed.
4. Check the Toilet for Leaks
- Turn the water supply back on and allow the tank to fill.
- Observe the tank for any signs of leaking. If you notice any leaks, double-check your work to ensure everything is properly installed and tightened.
Additional Tips
- Use Plumber's Tape: If you experience leaks around threaded connections, apply the plumber's tape to the threads to create a better seal.
- Regular Maintenance: Periodically inspect your toilet tank components and replace any worn-out parts to prevent future leaks.
Preventative Measures for Toilet Tank Leaks
Regular Inspection Routines
You should establish a schedule for inspecting the toilet's components. Checking for cracks or wear in the tank itself, bolts, washers, and gaskets monthly is advisable.
Detecting these issues early can prevent water damage and save on repair costs.
Maintaining Component Integrity
Maintaining the toilet's internal mechanisms is crucial. This includes replacing the flapper or seal if they show signs of deterioration.
You might also consider installing a new flush valve if there are indications of malfunction or if persistent leaks occur.
Adjusting the Flapper and Fill Valve
Proper flapper and fill valve adjustment contribute significantly to preventing tank leaks. The flapper should create a complete seal, and the fill valve must shut off at the correct water level to avoid overflow.
These adjustments can be made by following the manufacturer's instructions or consulting a professional.
When to Call a Professional
In these certain circumstances, calling a professional is strongly recommended:
- Persistent Leaks: If after DIY attempts the leak persists, it may indicate a more complex issue that requires expert diagnostics and repair.
- Cracks in the Tank: Visible cracks within the porcelain tank should be inspected by a professional, as these could lead to significant water damage if not properly handled.
- Corroded Pipes or Fittings: Professionals should address any signs of corrosion on pipes or fittings to prevent further deterioration.
- Complex Components: If the problem lies with internal components that are difficult to access or understand, such as the fill valve, a plumber's expertise is invaluable. <View wall-hung toilet problems>
An expert's intervention is particularly crucial when a homeowner lacks the tools or knowledge for repair.
A professional plumber can also offer insights on how to prevent toilet tank leaks in the future, potentially saving time and resources.
Symptom |
Action |
|---|---|
Water pooling around toilet |
Call a professional immediately |
Difficulty in tightening bolts |
Consult with a professional to avoid cracking the tank |
Unfamiliar toilet mechanisms |
Seek professional help to prevent mishandling |
Homeowners should also consider the age and condition of their toilet. An older toilet may require frequent repairs, and a professional can advise whether it's more prudent to puchase a new toilet and replace it entirely.
Frequently Asked Questions
What causes a toilet to leak from the bottom of the tank?
A toilet may leak from the bottom of the tank due to a worn-out tank-to-bowl gasket, loose or corroded tank bolts, or a cracked tank.
How do you seal the bottom of a toilet tank?
To seal the bottom of a toilet tank, replace the tank-to-bowl gasket and bolts, ensuring all connections are tight and secure.
How do you fix a leaking water tank without draining it?
Use a waterproof sealant or epoxy putty designed for wet conditions to patch the leak directly without draining the tank.
Can plumbing tape stop leaks?
Plumbing tape, also known as thread seal tape, can help stop leaks by sealing threaded pipe connections and preventing water from seeping through the threads.
Where not to use plumber tape?
Do not use plumbers' tape on copper, PVC, or PEX pipes, or on the female end of connections, as it can interfere with proper sealing.
Conclusion
By following these steps above, you can effectively fix a leaking toilet tank and avoid costly water damage and high utility bills. If the problem persists despite your efforts, consider consulting a professional plumber for further assistance.


